
Making a Robot, part 1
First step is to order the motors and control board, and print out the plastic parts

As part of my AI/Deep Learning exploration, I want to play with some vision models. What better way than to build a robot arm and run a vision model? The basic goal would be to build a Lego sorter: camera recognizes the shapes and colors and tells the arm to put the blue ones with the blue and the red with the red, or sort by shape maybe.
I’ve seen this done before, I remember reading about a guy who built a Lego sorter that didn’t grab any pieces but used vision recognition along a conveyor belt and air nozzles to blow the pieces off the belt into bins, sorting by color. (Apparently buying mixed lots of second-hand Lego is very cheap, but lots sorted by color are pricier.)
My first step was the Le Robot project, by the Hugging Face people. Here’s the GitHub page and it suggests starting with the SO-100 robot arms.
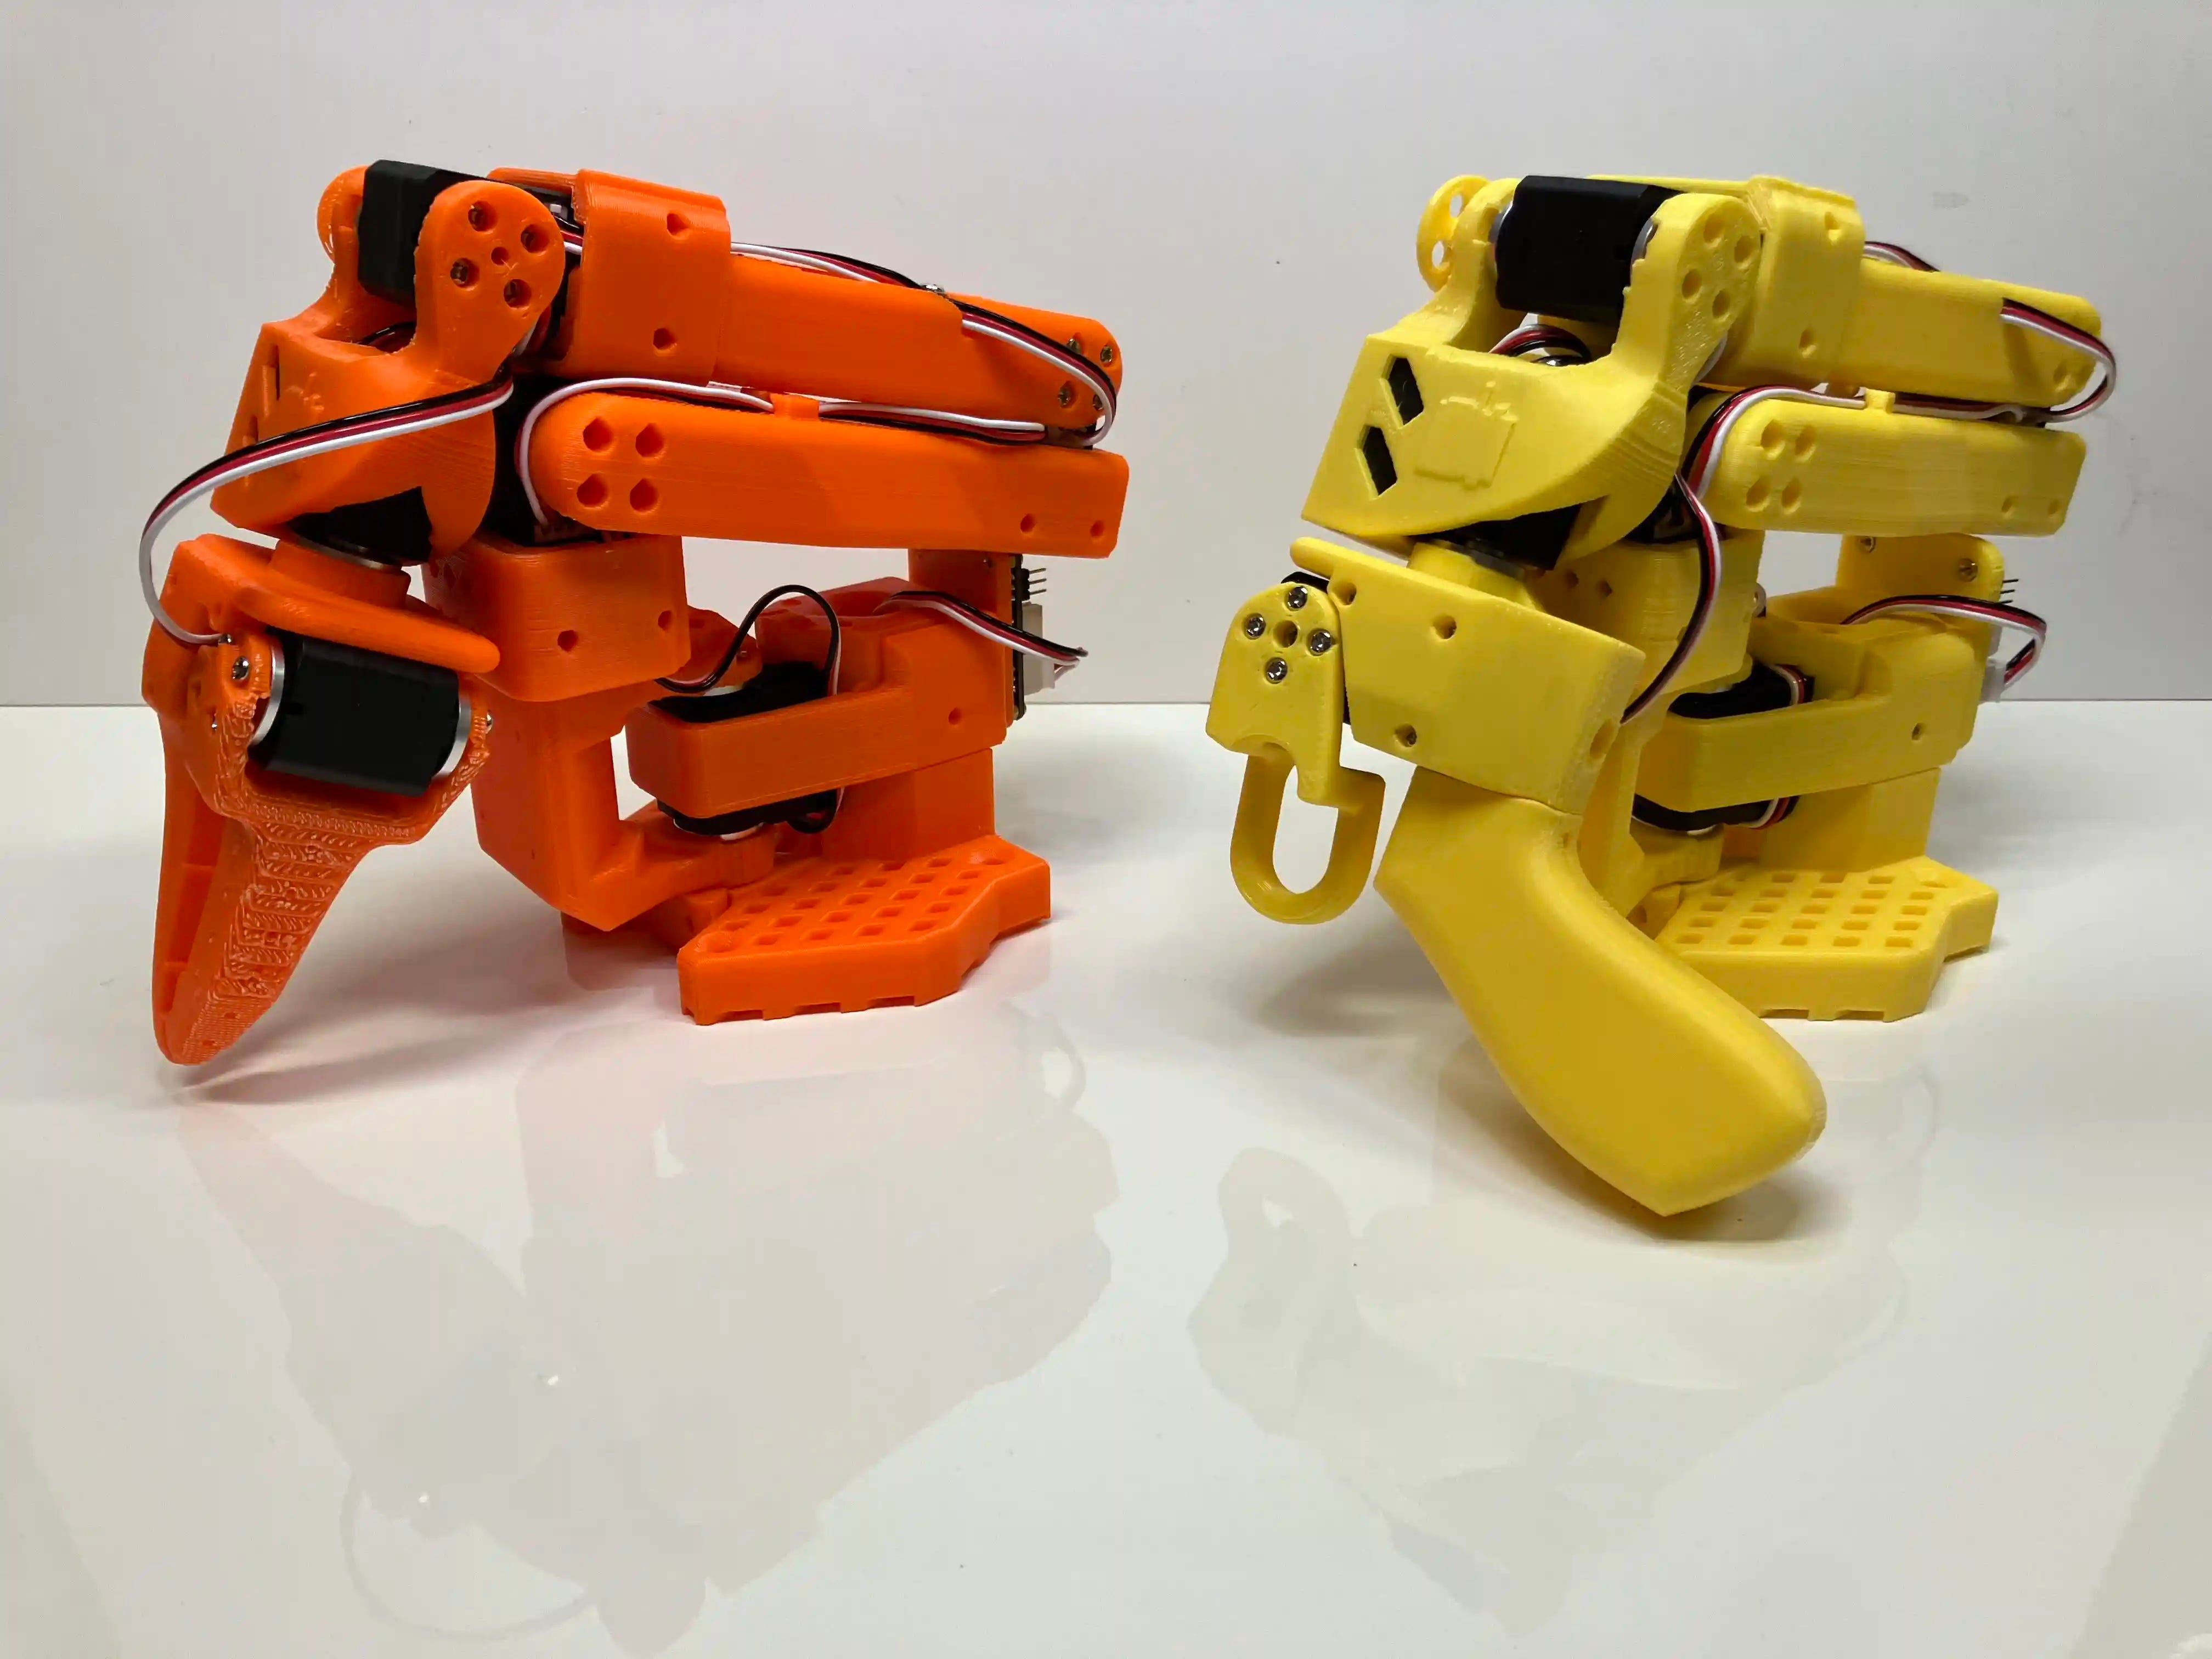
This is a leader-follower design. The yellow arm (leader) on the right has a pistol grip and a sort of trigger, that will open and close the pincer tongs on the orange arm (follower). Apparently the software learns how you move the leader and duplicates those moves on the follower.
Acquire the Parts
First step was to get the parts list and go on to Aliexpress to buy twelve little STS3215 motors (called “servos” I guess, not sure why maybe the point is not to just spin but to control the position accurately) and then Amazon for two controller boards and two power supplies. I elected to beef up the design by using the 12v version of the servo and the 12v 5A power supply. This is double the torque. The servos were $14.88 each because the shops offered three or four at a lower price, like $6 or $7 but I need twelve and didn’t want to split the order up. You do you.
The control boards are on Amazon. Here are the ones I got for $10.55 each but if that disappears search on “serial bus servo driver board st/sc” and see what happens.

Crazy thing is that this will allegedly control 253 servos all in serial, which seems utterly nuts to me but maybe they’re doing magic over there in Shenzhen. The power supply was just “12v 5A power supply” on Amazon, all of that came well before the servos arrived from China.
I know what you’re thinking: Where do I find the screws to put all this together? Here’s the amazing thing, they’re in the box with the servo! Lots of little screws and two metal plates, one with teeth and one without. The servo has a metal driver post with teeth that fit one of the metal discs. The other is just to screw down to the plastic part where the servo is to be installed and provide a sturdy anchor part.
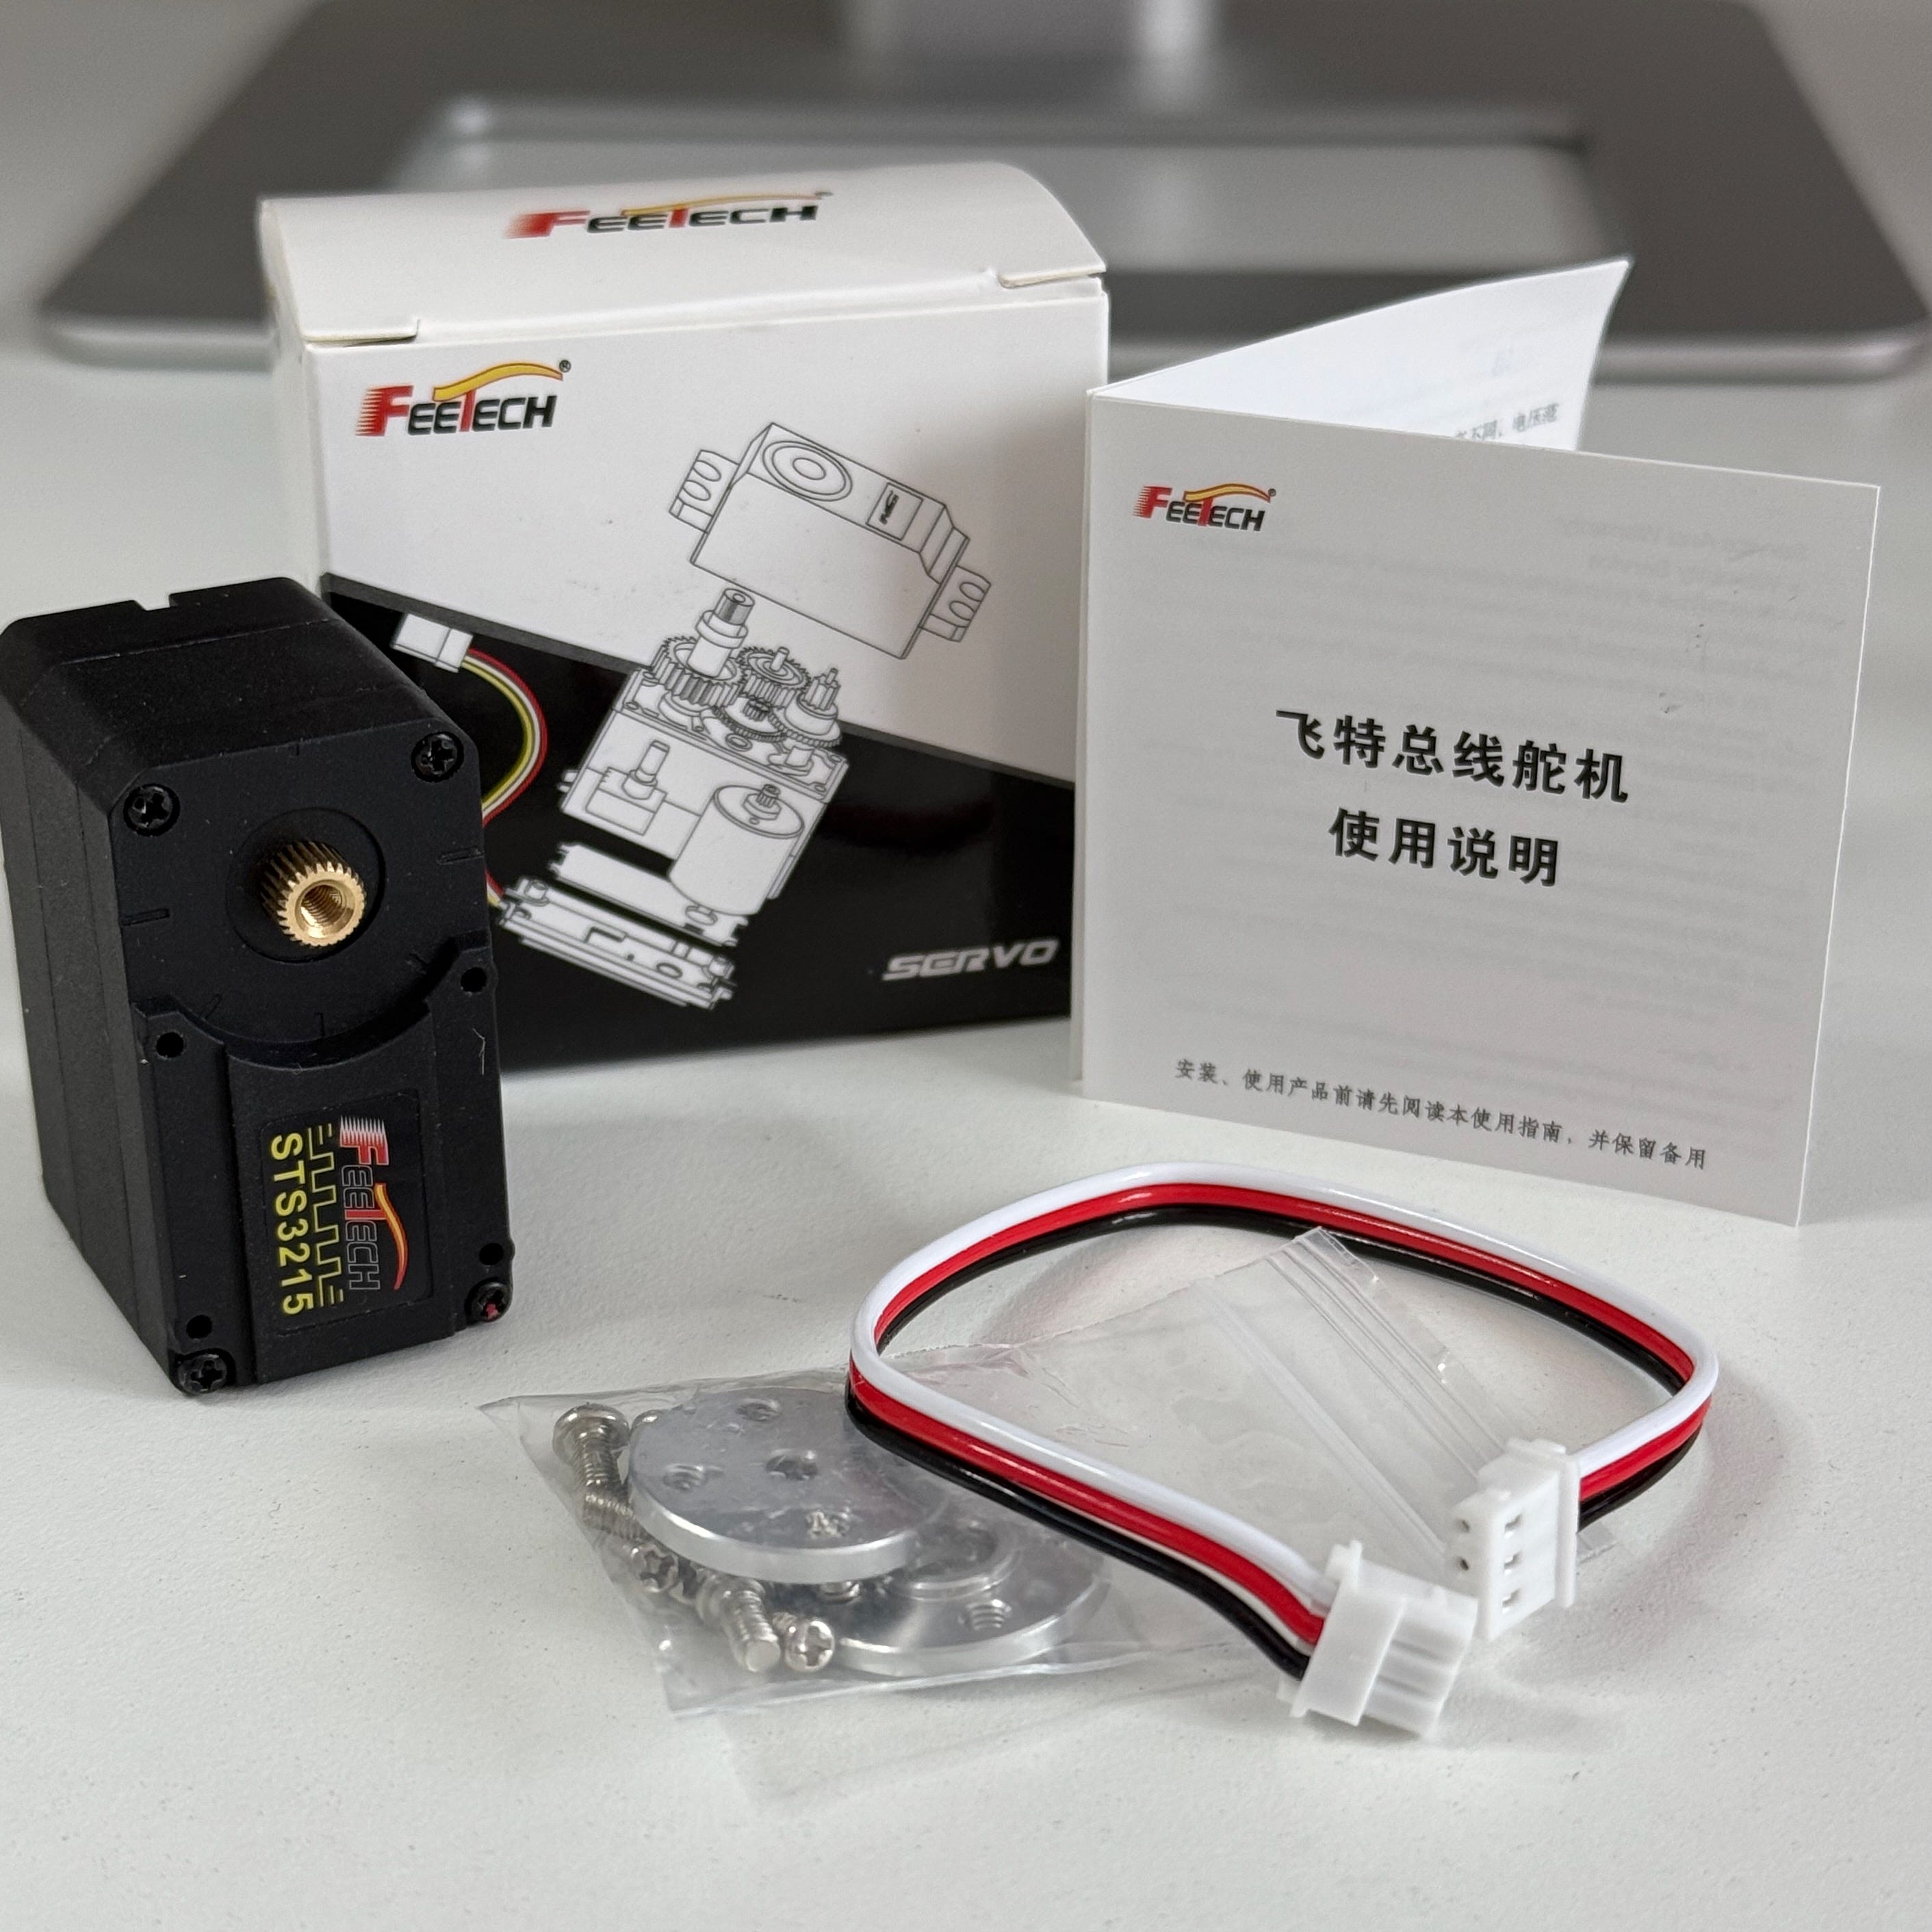
Even includes the ribbon cable for power and data. Well done.
Print the Plastic Bits
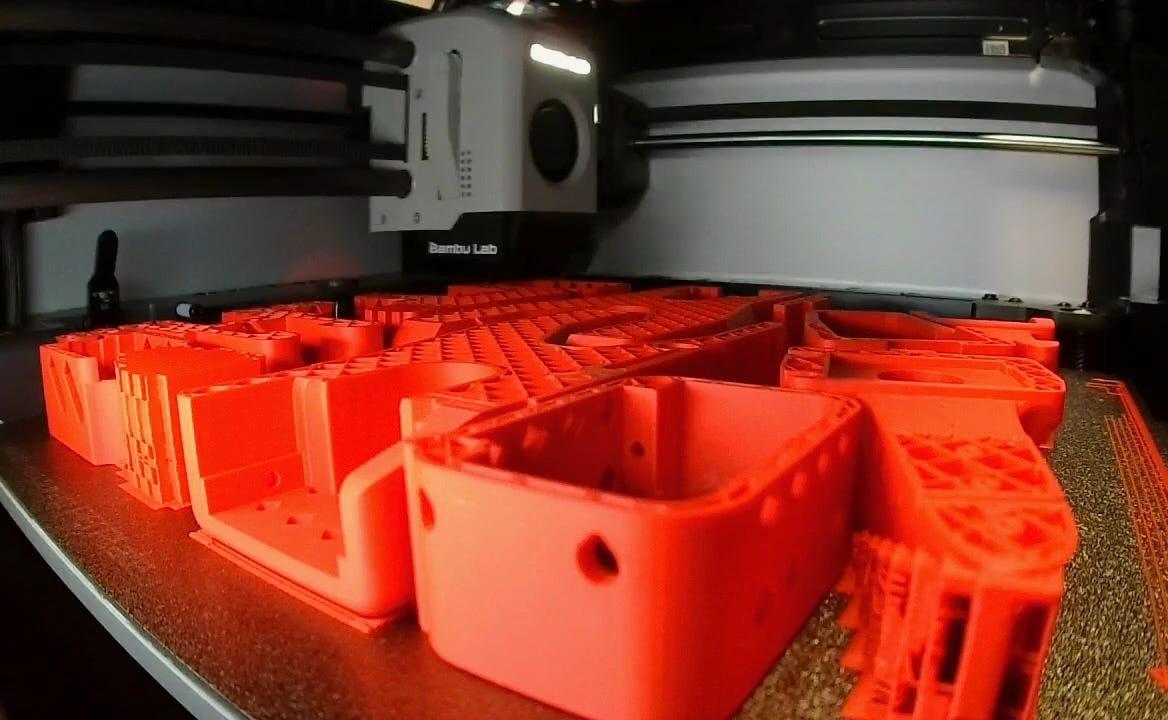
Having ordered all the parts, the next step is to download the files for the 3D printer. Oh, did I not mention that? Yeah, pretty much need access to a 3D printer of some kind in order to fabricate the parts for the arms. I have a Bambu Labs X1 Carbon printer and fiddled around making various things for my kids. The precision is astonishing and it’s quite simple to make it work, but do get a decent-sized Micro SD card to store your stuff in. You can print from the Bambu Studio software on a laptop or desktop directly to the X1C since it’s WiFi-enabled, but it’s just a lot easier to download interesting models from different websites and save to the card.
And you will need the Studio for this project because the GitHub repository only has STL files laid out for the Prusa and Ender printers. These will work with the X1C, but because the size of the print surface is a bit different (Bambu labs is 250mm square, nearly; the others are rectangular) you may need to budge it a bit so it won’t throw an error that you’re asking it to print off the surface. Bad!
Nobody says this because I guess all the folks building robots are experts or something, but an STL file won’t print directly. It needs to be “sliced” for your specific printer model. Once it’s sliced, it’s saved as a 3mf file. Moreover, it needs to be a “gcode.3mf” file, which I don’t understand but the ones that aren’t gcode just don’t work.
First thing you want to do is print the gauge model from the GitHub repository. This will print in maybe 15 minutes and you can fit it to your servo to verify that the printer is measuring and specing everything correctly. It only fits one way, as you’ll see when you get your hands on the servos. They have a little bump on one side that is wide and the bump on the other is narrow. Print out the gauge before you spent 10 hours and 350g of filament on a bunch of arm pieces that are off by 1 mm because some setting somewhere ended up being a 99% or whatever. Bad!
Bambu Studio Software Procedure
It took me hours, and I mean hours, to figure this out. Ended up looking at a PDF from the University of Wisconsin’s engineering lab that had a very n00b step-by-step procedure. Go Badgers. But that was apparently an older version of the Bambu Studio software because I had to spend yet more time figuring out where these settings and stuff were.
Here’s what I did, step by step. This is as much for J. Random Person on the internet struggling with the same project as it is for Future Me who will look back in a few months and wonder where the hell that setting is.

The zero-th step is to download the software and get it going on your system of choice. Here is my MacBook Air running 01.10.01.50, the latest version as of this writing.
Step 1 is to click on the home icon in the upper left and then “Create New Project” in the upper right. You should have a user name already and be connected to your home device. That was pretty simple to do from the iPhone app. (It’s very well done, you can even get a live video feed of the print in progress from the interior camera, so you don’t have to keep running out to the garage or wherever you have your printer set up. But the phone app won’t slice an STL file for you. Got to have the desktop software.)
Step 2 is to add the model to your project. This tiny little icon here which makes no sense and isn’t intuitive in any way. Yeah that one.

This will bring up the File menu so go to wherever you downloaded the STL files from GitHub and open one of those. I found that the Prusa versions worked the best, I think because the print area is pretty close so the layout was fine (or maybe off by a tiny bit but you’ll see in the next screen shot how it looks and you can nudge it into place.
Step 3 you’ll click over to the Preview tab on the software and it’ll give you this great view of everything all laid out as a wireframe.

But oh no! Error! This orange box is telling you that the model has a problem and won’t print. Let me save you the trouble: you need to turn on the “support” function. The printer is laying down a very precise line of melted plastic so anything that’s just hanging in mid-air won’t work, it’ll fall over. So the printer needs to lay down some thin scaffolding to be able to build the model up. You can’t see it in this screen shot, but I have it set to show support structures as green. Once you turn that on, it’ll show up. (See Step 5, down below.)
Step 4 shows how to resolve this. Yeah, again, super non-intuitive. You click the tab in the middle of the left menu pane for Support (in orange) and then check the box that says “Enable support” (also in orange). You don’t even want to know how long that took me to figure out. Ugh.

It should automatically refresh and then show you in a contrasting color where those supports are going to be but if not, you can click over to the Device tab and make sure you’ve connected to your specific printer and then coming back to the Preview tab should refresh too.
Step 5 is the one that gave me all kinds of fits. I have the AMS module on the top of my printer, don’t know what it stands for but it holds four spools of filament and if you buy the Bambu filament they have little QR codes printed on the side of the spool and a little reader built in. The AMS will spin the spool and read the QR code and then tell you “Oh this is PLA Matte filament in Red and it’s 1 kg.” Wonderful!
Except.
Except that the model has to know that. I wanted to print the Follower and Leader in different colors (I had red and black) but it wanted to print with whatever filament was in Slot #1 of the AMS. I went back and forth on this, but the solution is to make sure that the Studio software has scanned your printer and gotten the latest info, then go here to this setting and make whatever your print color is as the filament for Slot #1, even if it’s over in Slot #2 or #4.

Here, I’m telling it to use the Black PLA Matte currently residing in Slot #4 as the print option. I’m sure there’s a different way to do this. What threw me off is all the little test stuff I did for my kids I was able to alter the filament choice right before I printed it out. But with these sliced files it didn’t work. So the hack is to set it up before you save the sliced file to gcode.3mf and export.
(I also added a second Big Arrow to show the green support filament structures that the software added after clicking that option earlier. You can close up the details in the color option drop-down pane and get a better look, and zoom in and rotate to see the details.)
And that brings us to Step 6, export your model. I strongly suggest you have a folder for this project and save your gcode.3mf files because it’s a complete pain to go back and re-do all these steps to slice up the file again. But don’t worry, if one of the pieces doesn’t print right, you can select just that object out of the STL file and make that a new project and print it individually. I think. Hasn’t happened to me yet, but that’s the theory. That’s what “plate” means here in this option, everything on the plate.

Once you’ve saved it, you can send it to your printer’s SD card right from this Studio software.
Learned that the hard way; first option for me was to pop out the SD card and use an adapter to connect it to my laptop’s USB port, which worked but then I realized I hadn’t saved the gcode.3mf version of the file, just the 3mf, and that wouldn’t print. I was dreading the trip back out to the garage and of course I’d put the card reader and the USB-C adapter away because I hadn’t used it in four years or so. But then clicking over to the Device tab allowed me to figure out how to send the saved file to the SD card over WiFi.
And here they are, all the pieces for the Follower arm, cleaned up to remove the support structures. Oddly satisfying to pry away the support stuff, they crackle and sometimes pulling on a thread of filament will peel off a whole wad. Don’t worry, the actual piece is much stronger and you won’t accidentally yank anything off. You might scratch the part, though, so don’t be an animal
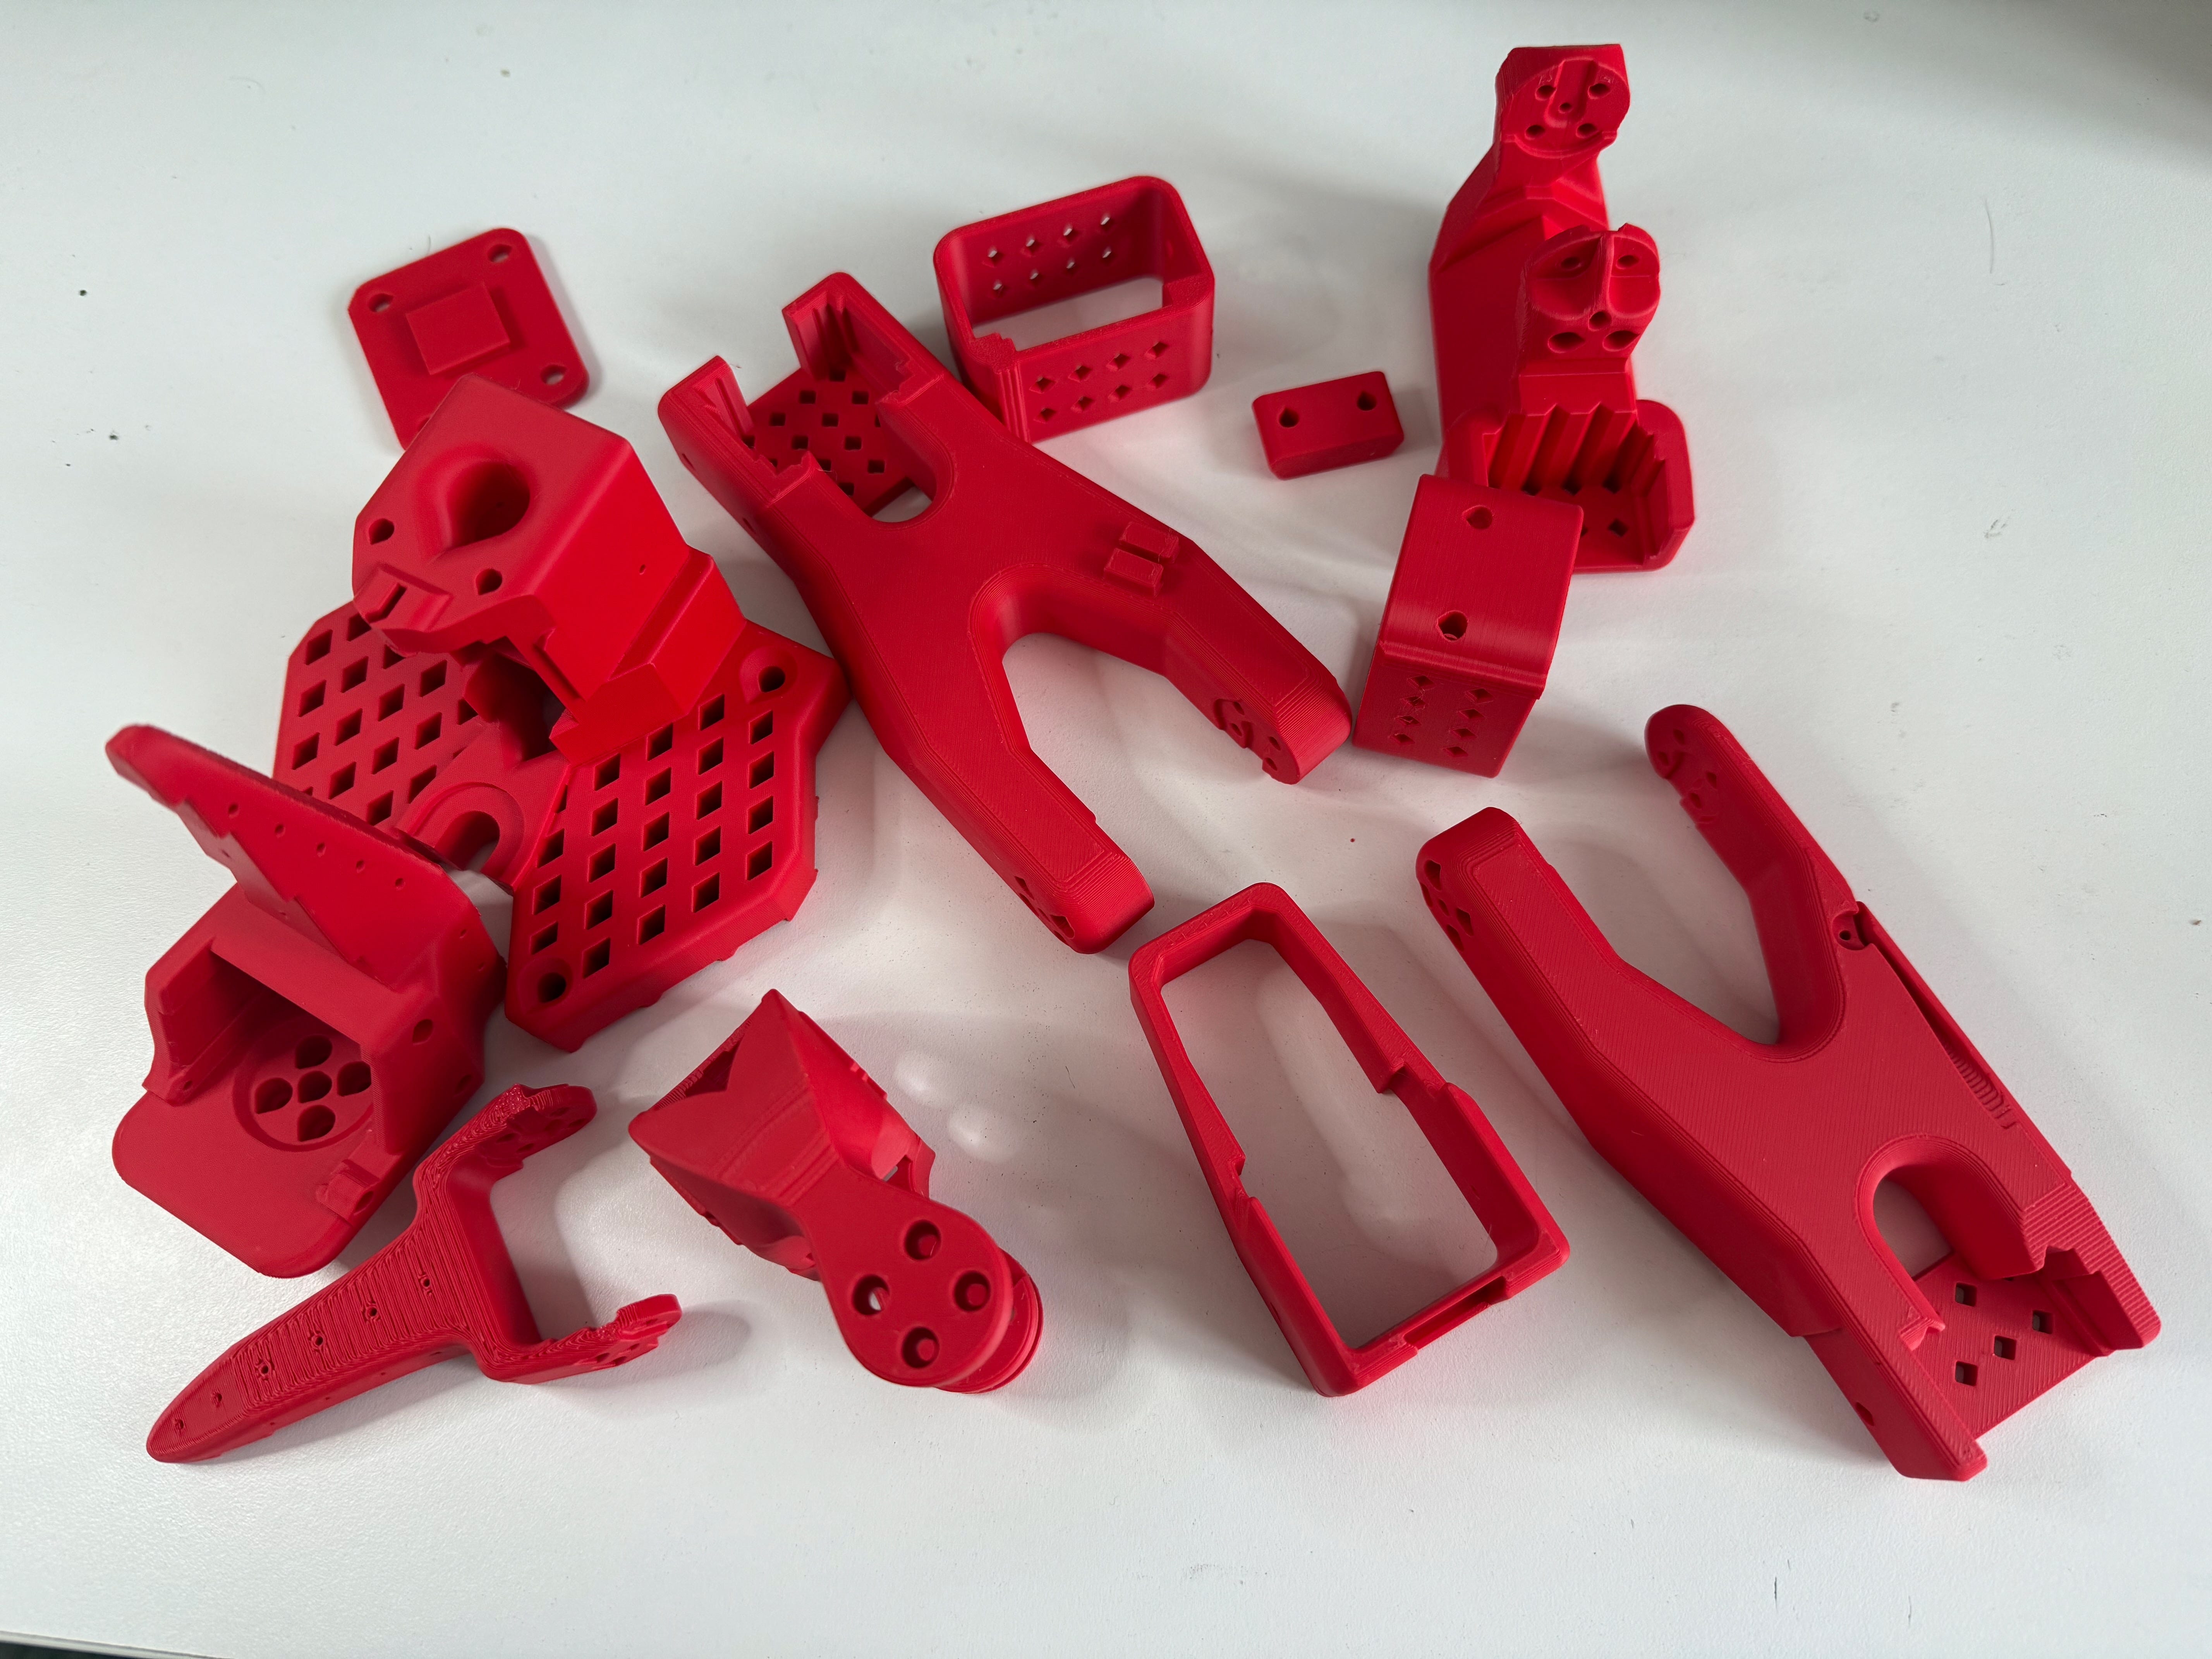
.Now to assembly!